Focusrite Scarlett USB audio on Linux
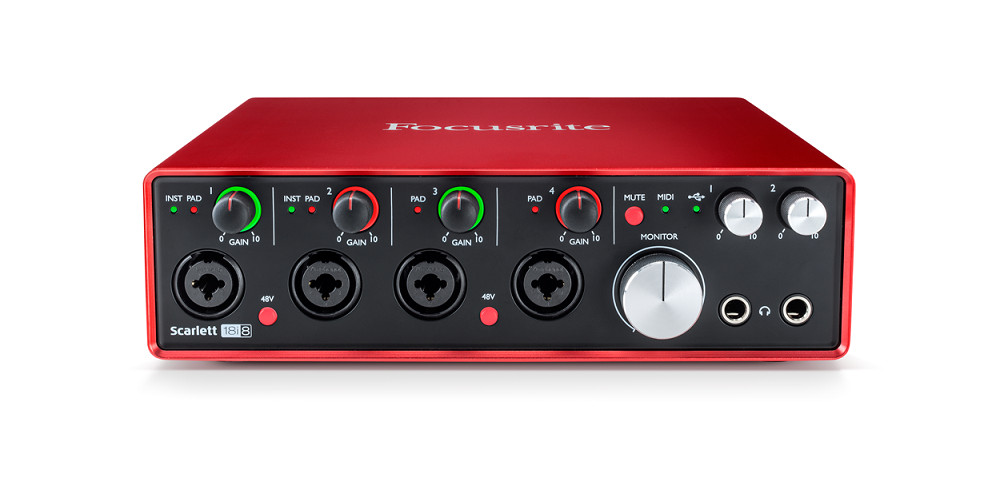
Focusrite USB Audio interface with Linux
In this post I will give a brief-ish overview of my techniques for configuring a Focusrite 2nd Gen 18i8 USB audio interface with Linux (Ubuntu & Mint).
Using external audio peripherals with Linux is notoriously complex and it has taken several weeks of trial and error to reach a point where I have my old interface working correctly and as required with my Linux distros.
I use the Linux ALSA (Advanced Linux Sound Architecture) mixer as my only interface for external audio. At the time of writing Focusrite do not provide a GUI Linux interface for any of their hardware products so configuration with ALSA requires a bit of fiddling in the terminal… a lot of head scratching to interpret the internal routing in the abstract!
As usual text in blue are commands to enter into the terminal.
My audio setup & requirements
These are very simple, basically all I need is a single Chanel input for mic (or line), a stereo monitor (on headphones) and a stereo analogue line out for an external amp. I need a monitor mix of both analogue input (from mic) and PCM input from computer. A typical scenario would be a video call setup where I want to monitor my own voice and hear the people on the other end in my headphones.
The 18i8 is obviously capable of doing a lot more than this with its effective 18 inputs and 8 outputs. This baked-in complexity however, has made the process of configuring internal routing a lot more of headache but setting up a single channel with the Solo model would be a lot less confusing.
Initial configuration
Step 1
First things first. We need to debug our set up. With the Focusrite interface connected and powered on do the following in terminal :-
aplay -l
Look for the Focusrite card number, in most cases this will either be 1 or 0.

Step 2
Next enter: –
amixer -c [ card number ] controls
If you see less than ten lines with iface=MIXER this means that your system does not have the appropriate driver enabled — we will fix that now.
Step 3
First we need to probe for the Vendor & Product ID for our Focusrite device. Enter the following into your terminal: –
lsusb | grep Focusrite
The output will look something like this :-

Make a note of the two ID numbers (separated by a colon) the first is the Vendor ID and the second in the Product ID
Step 4
We now need to initialise the driver / device relationship by sending the device_setup=1 command to the device and expose its internal config to the ALSA system architecture.
in the terminal change directory cd /etc/modprobe.d/
In the modprobe.d folder create a new file called scarlett.conf
touch scarlett.conf
Enter scarlett.conf using your preferred terminal editor Nano or Vim etc. and enter the following code : please remember to add your Vendor and Product IDs from step 3 above
options snd_usb_audio vid=0x1234 pid=0x1234 device_setup=1
Save the file and reboot system.
Now the Linux audio driver will recognize your device and it will be controllable from the ALSA mixer. Run through steps 1 and 2 again to confirm all is well.
My ALSA mixer config for the 18i8 interface
Enter the terminal and type alsamixer
then press F6 to enter the selection menu and chose your Focusrite unit from the list. You should now see a set of faders and controls relating to your Focusrite interface. For my 18i8 there are a huge number of these.
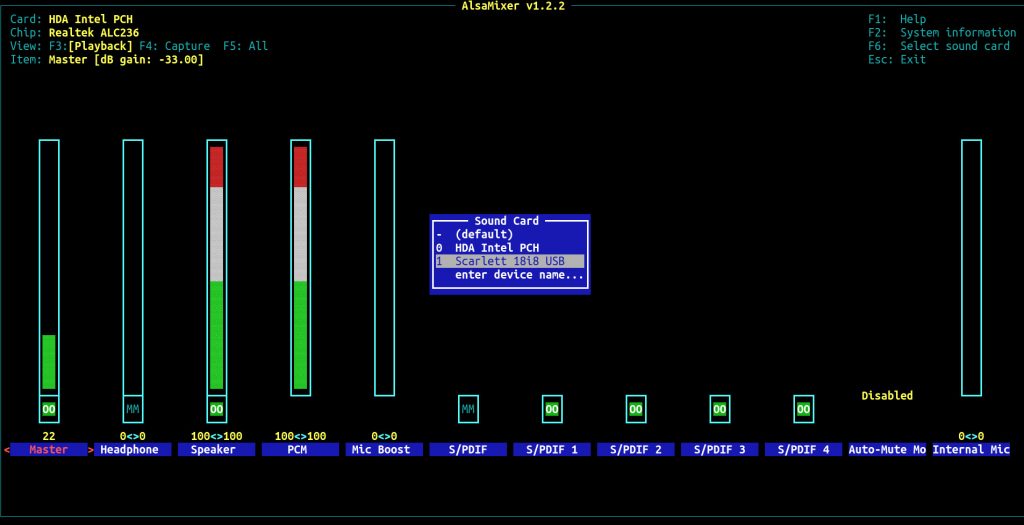
As previously mentioned I’m using an over complex version of the Focusrite Scarlet interface which is a multi channel mixer when I really only need to work with two channels at most.
My set up is simply as follows
NB PCM1 is usually channel ‘L’ and PCM2 is channel ‘R’ in stereo.
Analogue refers to the analogue inputs of the Focusrite – i.e. mics and line level audio.
In ALSA mixer press F4 for the capture setup
To recap, I need a setup with the following configuration: Mic input to a clean PCM output to computer. Mic input mixed with PCM input from computer and a mono mix of PCM input to analogue line out for a monitor amp.
The 18i8 has a total of 18 inputs described by numbers 1 to 18. These can be 8 analogue (balanced mic or line inputs), 2 S/PDIF channels and 8 ADAT channels through the devices optical input (multiplex). We are only interested in Analogue input 1 for mic and the PCM 1 & 2 monitor channels coming back from the computer with analogue outputs for headphones and line out to monitor amp.
Any of the inputs can be routed to any of the 18 channel numbers which are then manually assigned to one or multiples of 10 mix buses lettered A to J.
Below the numbers are the input channels used and the letters refer to the mix buses that the respective channels are routed to.
Analogue 1 (Mic in) => routed to mixer inputs 01*A, 02*B and 05*C, 06*D
PCM1 => Routed to mixer input 03*C, 07*E – left channel input from computer
PCM2 => Routed to mixer input 04*D, 08*E – right channel input from computer
Mixes A and B are routed to PCM outputs 1 and 2 and provide a clean mic feed back to the computer for things like a zoom call or recording audio etc.
We can see that Mix C and D combines the analogue mic input with the PCM input from the computer. This could be the mix of my own voice with the input from a zoom call etc. Mixes C and D are patched to the headphone output or analogue 3 and 4 / L and R respectively.
Mix E is PCM 1 and 2 inputs from computer combined into a single mono output which is routed to Analogue output 01 and provides a feed to a monitor amplifier.
Capture settings
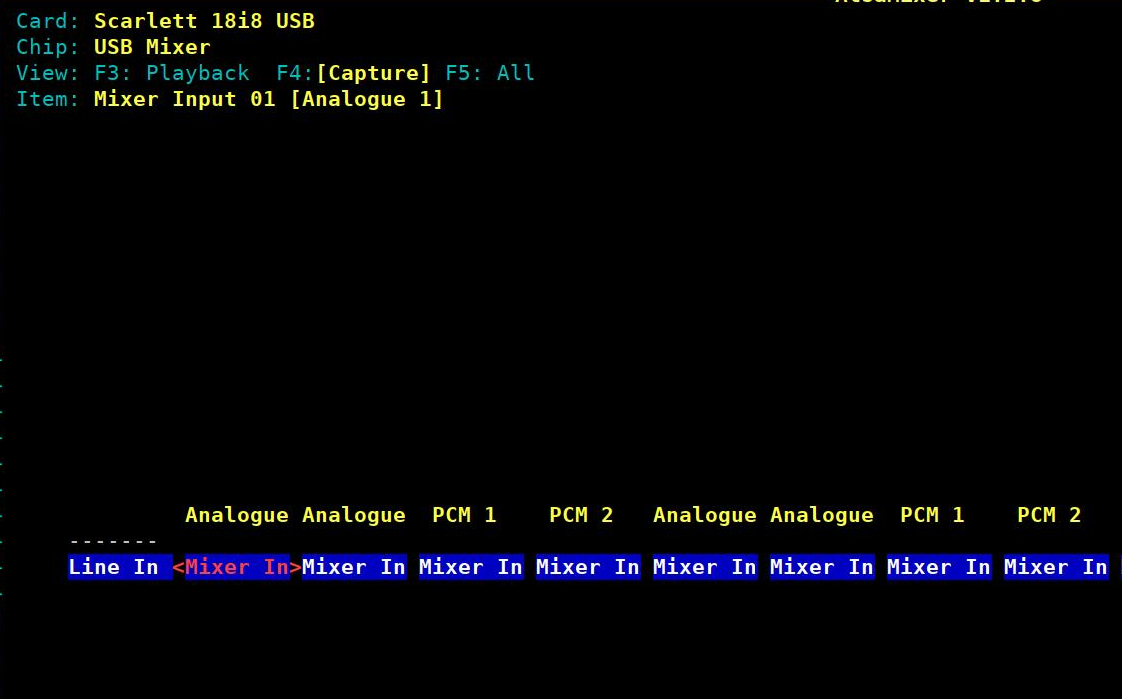
Output to computer
Analogue1 (Mix A and B) => PCM1 & PCM2
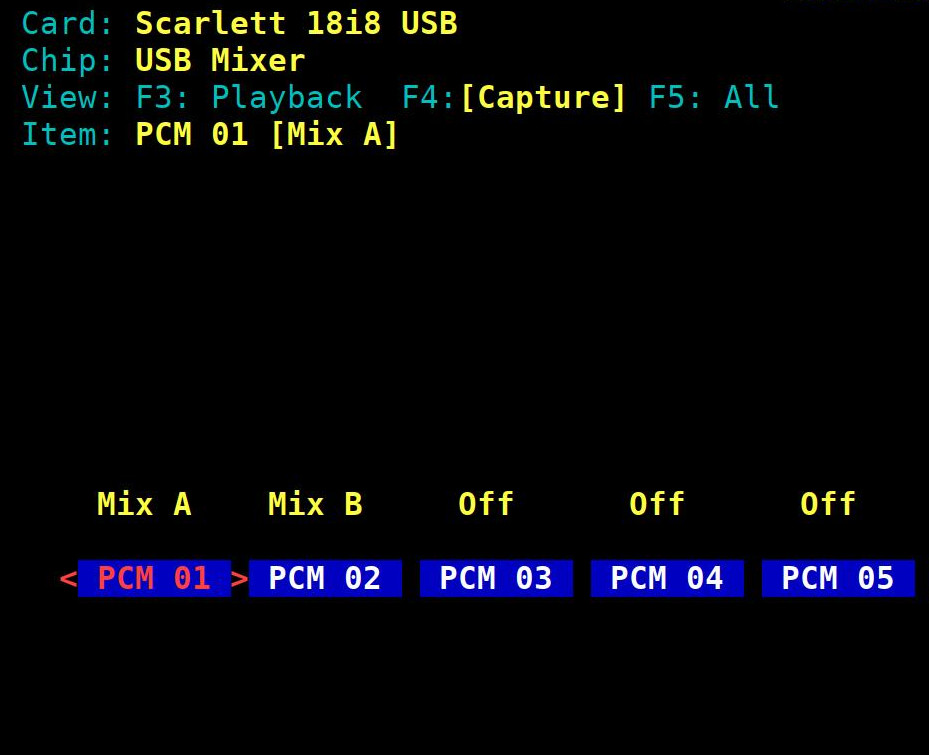
Press F3 for playback configuration – mixer faders
Mix A input 01 (100%) Analogue input to left – PCM 1 out
Mix B input 02 (100%) Analogue input to right – PCM 2 out
Mix C input 03 (100%) PCM 1 input to left monitor
Mix C input 05 (100%) Analogue input to left monitor
Mix D input 04 (100%) PCM 2 input to right monitor
Mix D input 06 (100%) Analogue input to right monitor
Mix E input 07 (74%) PCM 1 input to analogue line out 1
Mix E input 08 (74%) PCM 2 input to analogue line out 1
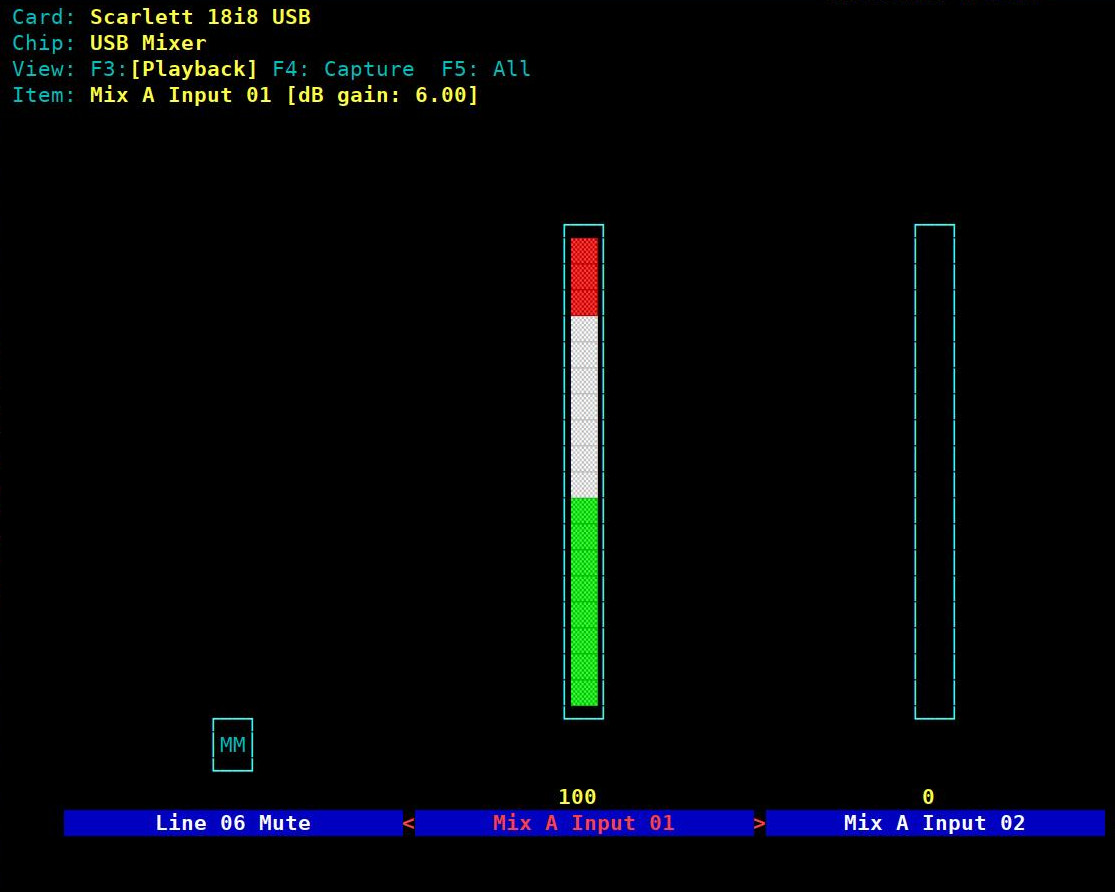
Mix A
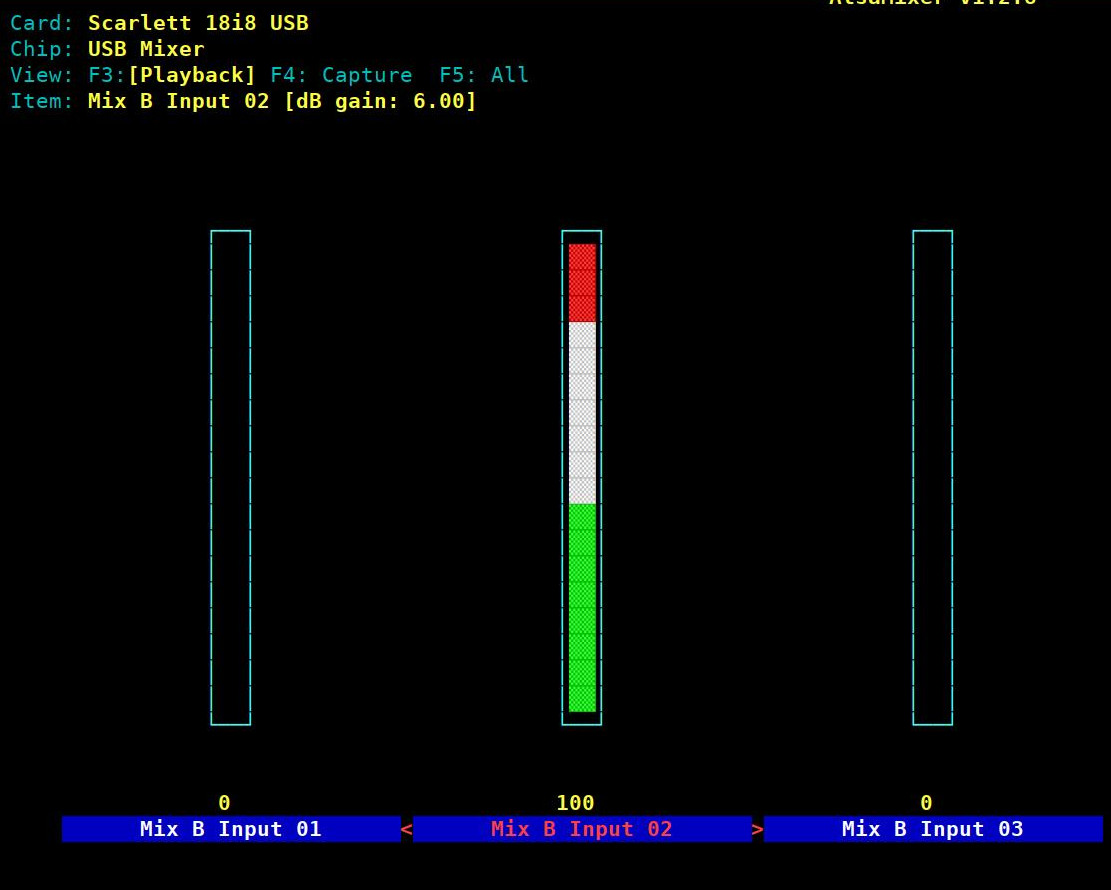
Mix B
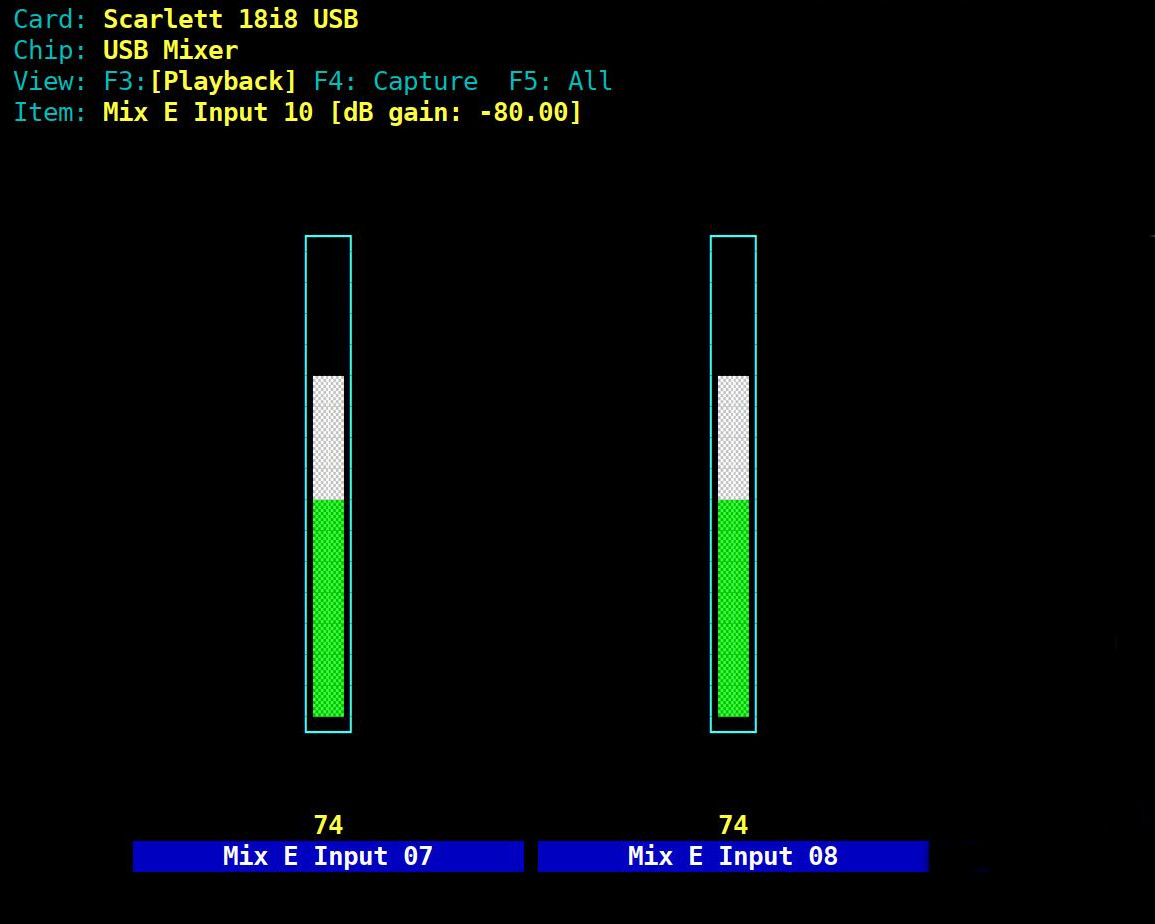
Mix E
Headphone output
Mix E => Analogue output 01
Mix C => Analogue output 03
Mix D => Analogue output 04
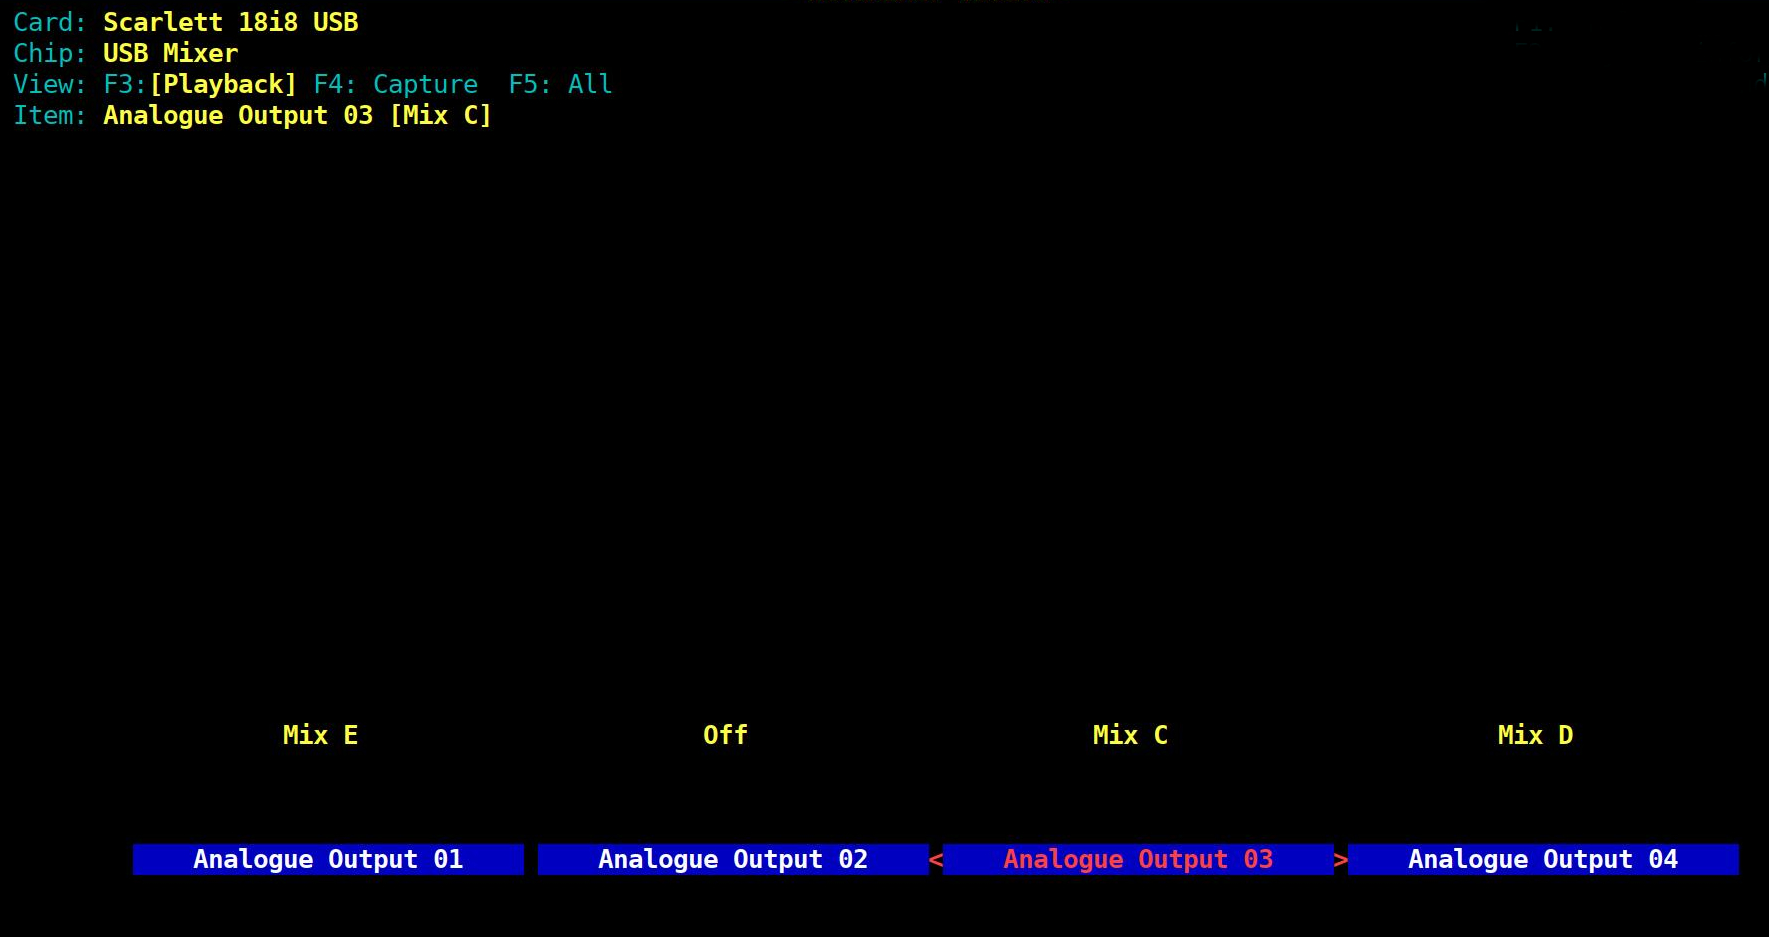
Headphone and Line out
I told you it was a complex mess!
Saving and reloading ALSA mixer settings
After all that you be glad to hear that we can make any changes to the ALSA mixer permanent or store them in a setup file.
This is how : –
The settings file is called asound.state and the file path is /var/lib/alsa/asound.state
To save the current mixer setting simply type the following in your terminal: –
sudo alsactl store
To restore settings from this file simply type the following :-
sudo alsactl –file /var/lib/alsa/asound.state restore
So that’s it – I hope this may be helpful to someone and I’m glad I got this working with Linux.
« Solar Power for Domestic IT | First AI content project »
Prestburyweb