Money Saving Off-Grid Energy Solution
For this post I’m returning to a popular subject that I covered previously and one that always fascinates me. Though this time I will go into a little more detail. The world is becoming ever more fraught and unstable as threats to our everyday way of life grow. Supply chain interruption, economic stress, and cyber attack risks are high. The governments across Europe want everyone to prepare for a grid-down situation lasting at least 72 hours, this includes provisions for food, water, cooking, lighting etc and also stashing cash. My post concentrates on a basic electrical system that will produce a handy amount of power for a variety of things from simple lighting to maintaining digital (and other) comms in operation.
In order to work with electrical systems it is important to have at least a basic understanding of physics and to know how to monitor and measure your electrical resources. You should also know how to safely work with high energy batteries. Do not attempt any work of this type if you are in anyway unsure of the principals. Seek help from a qualified or experienced person. Even the system I’m describing below has a high potential to cause fires if not handled correctly. All work is underatken at your own risk
A 100 Watt System for Essential Electronics
The idea of going off-grid to provide some, or all, of our energy needs has never been more appealing. With the cost of energy soaring and the possibility of events or circumstances leading to a complete loss of supply, it is now a good idea to learn how one may be able to maintain essential communications and IT needs if the worst should happen!
Communications and IT are really the only essential aspects of our modern lives (in most everyday situations) that absolutely require a supply of electricity … obviously. Many will know how to cope with a loss of power and make alternative arrangements for many other things such as cooking, lighting and heating etc. Particularly those of us who are familiar with out-doors pursuits or lucky enough to live in a home with basic combustion heating – solid fuel stoves and boilers. However, these are matters outside of the scope of my article which is specifically focusing on essential electrical needs.
The thought of a loss of access to electrical power is quite unsettling for anyone that needs to use the web and IT resources on a daily basis, though there are easy off-grid solutions available! In fact, providing electrical power to keep all essential domestic IT systems and devices up-and-running doesn’t require much in terms of solar / battery infrastructure. Though a word of warning, it does require some degree of technical (electrical) competence and modest electrical construction skills; Some of my proposed set up will also require a small application of soldering skills.
Main Components

100 Watt, 12 Volt rigid solar panel – these are relatively cheap at this time and can even be found in the 2nd hand market.
Checkout my Solar Observatory app which is very handy for defining the most effective positioning for free-standing mobile solar panel(s). Solar Tracker
Charge Controllers
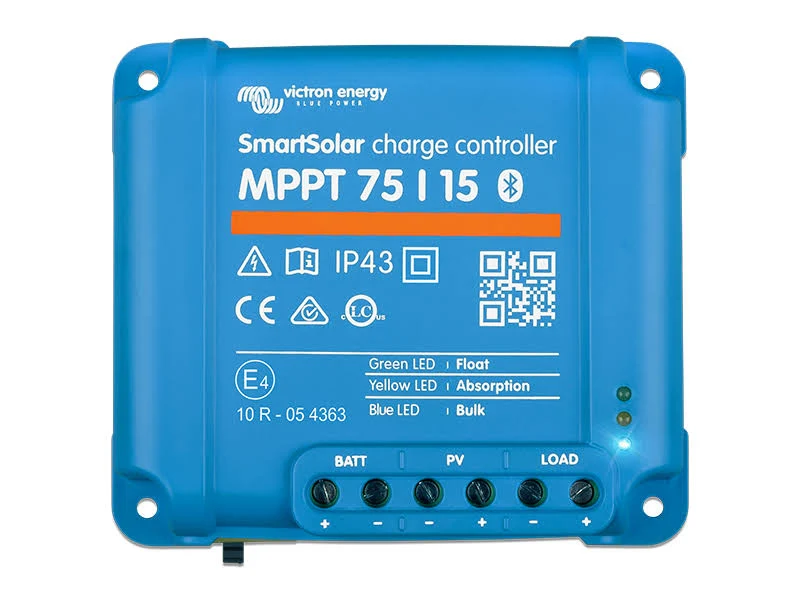
Charge controller – is essential for intelligently regulating the battery charging process. It goes between the solar panel and battery. For most modern scenarios a state-of-the-art MPPT (Maximum Power Point Tracking) controller is preferred. This is the only type of charge controller that should be used with LiFePO4 batteries. The Victron 75 – 1 -15 below is an industry standard controller suitable for 12V or 24V systems of moderate scale. It has a comprehensive Bluetooth battery condition and charge process monitor.
Batteries
It is always preferable to use deep cycle “leisure” batteries in a solar power system as these can withstand and recover from high levels of depletion.
New battery technologies such as LiFePO4 (lithium phosphate) are available at very affordable prices and these would be a far better choice for any deep cycle use. They also have a great lifespan and are much safer than lithium iron equivalents.
LiFePO4’s are available in a very broad range of capacities from 6Ah to well over 300Ah @12V
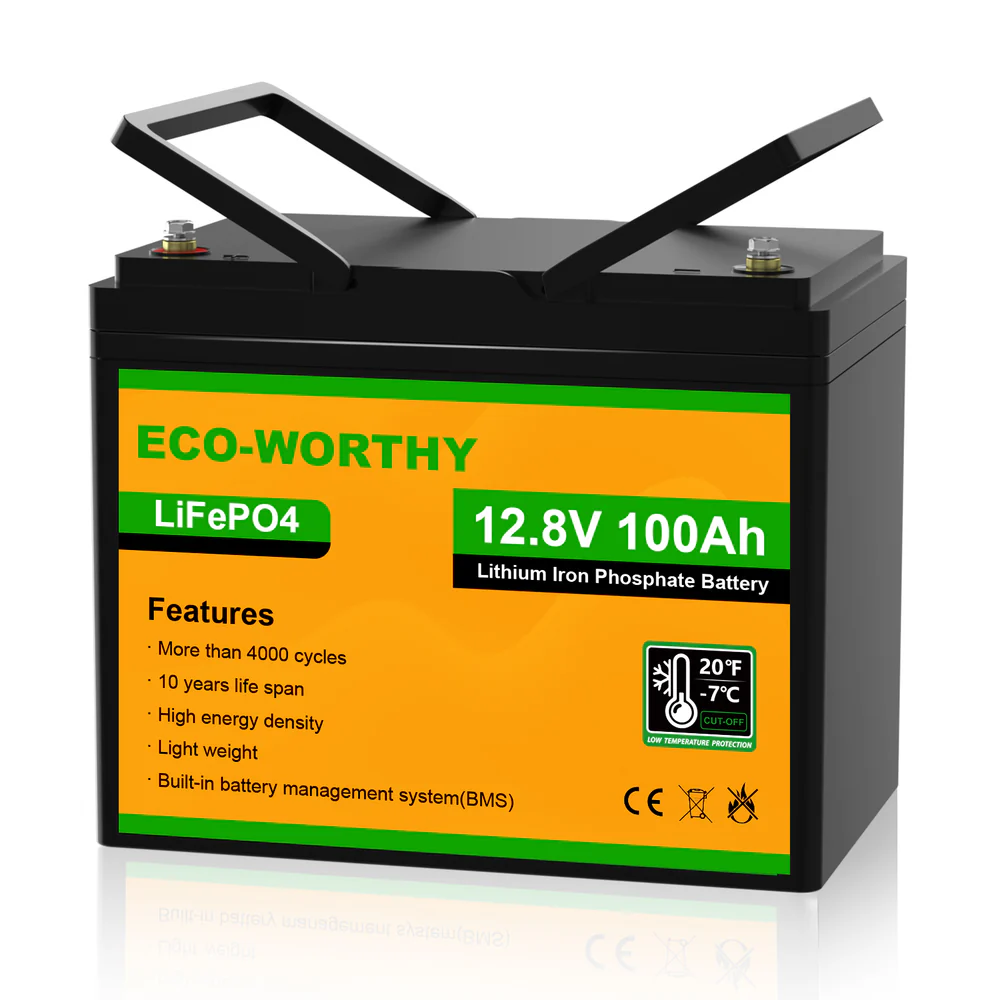
A 12V 100Ah LiFePO4 battery
A smaller capacity battery could be useful for running an internet router. These batteries are very cheap at this time (2025).
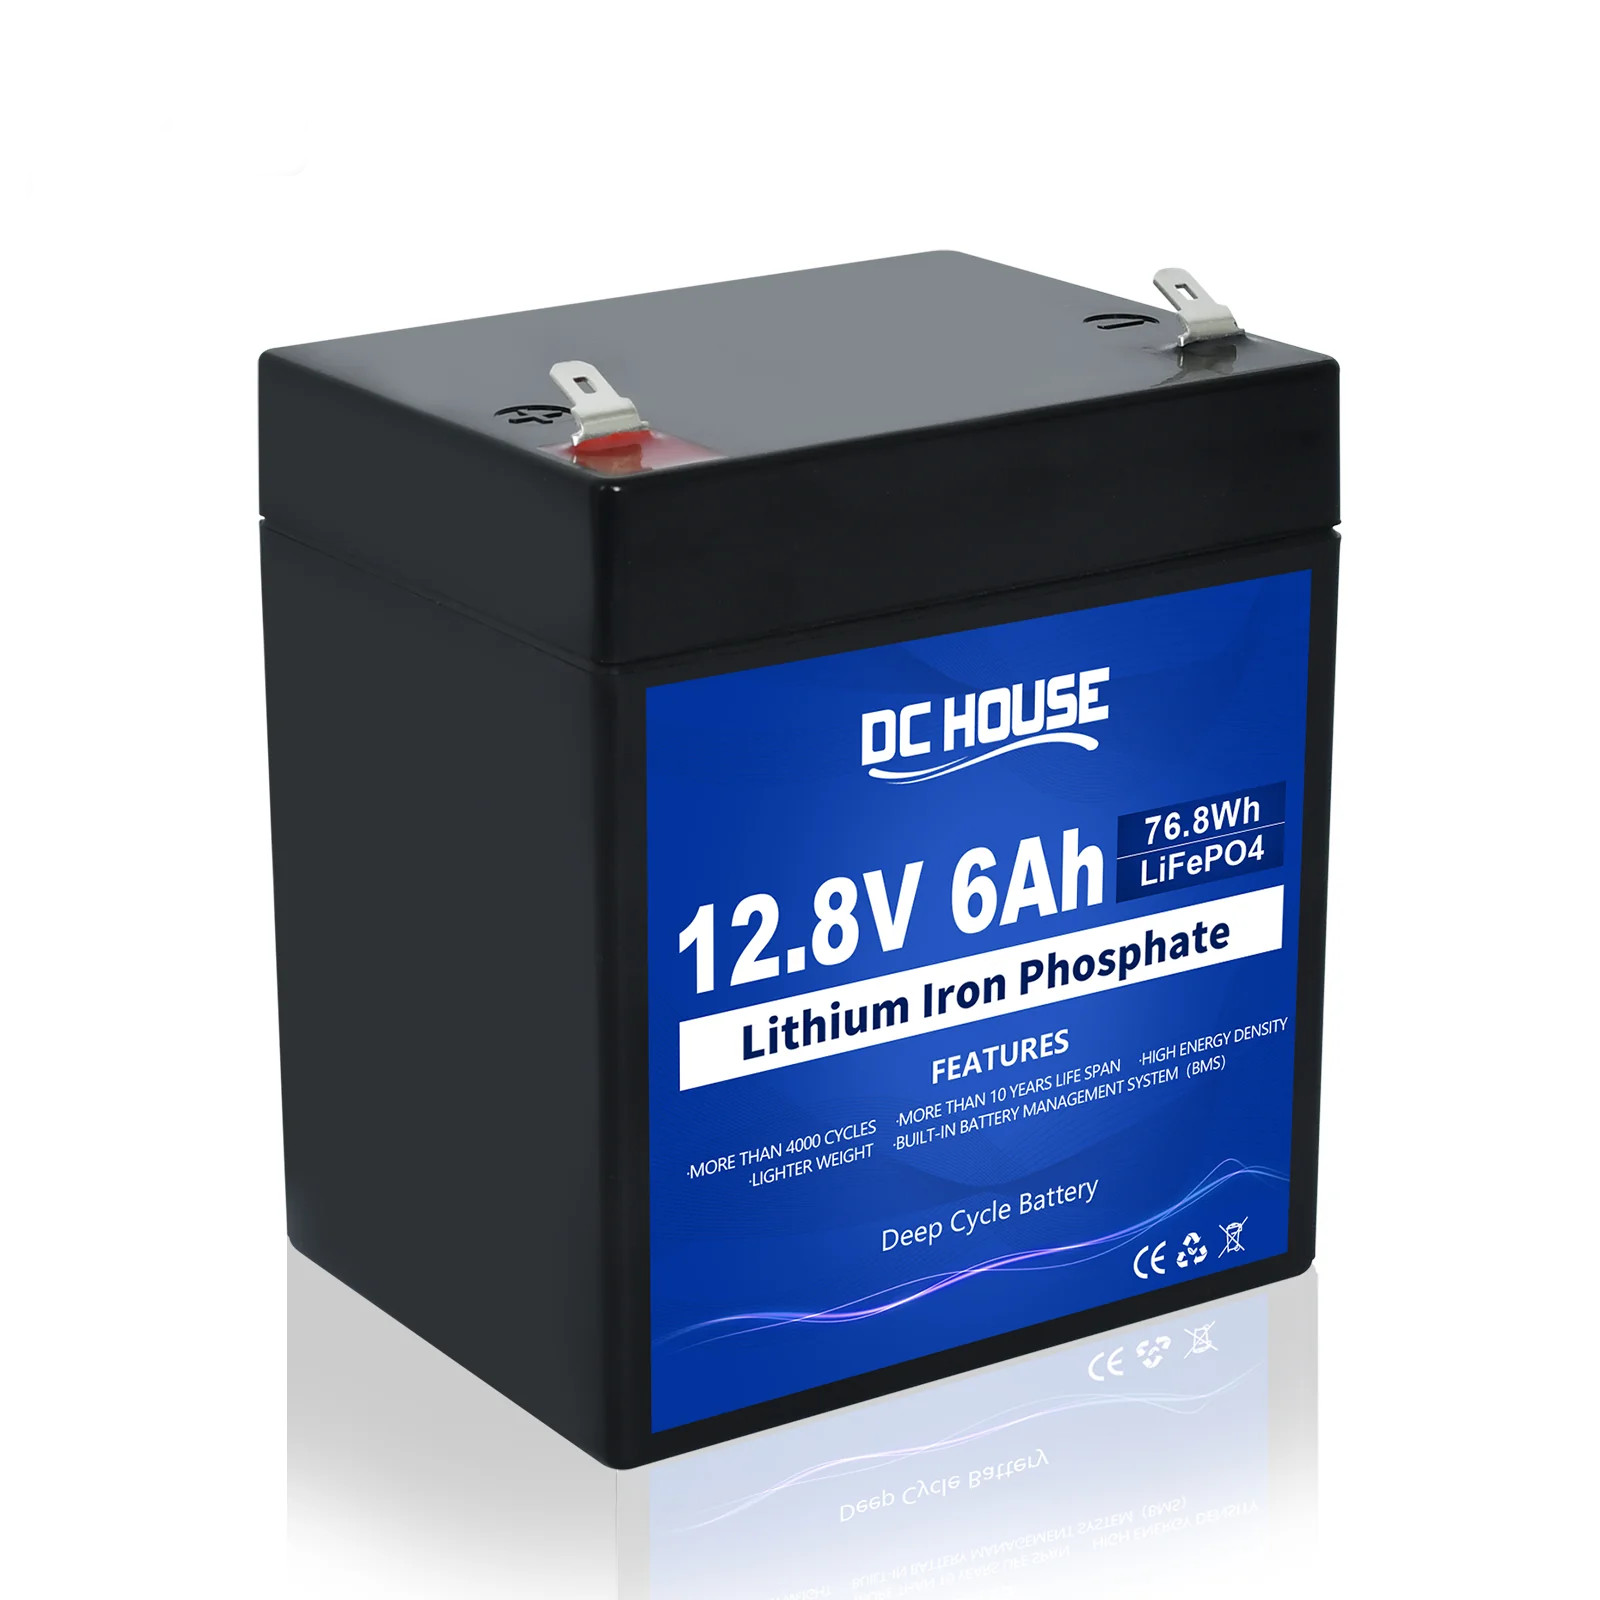
A 12V 6Ah LiFePO4 battery
Computer Items
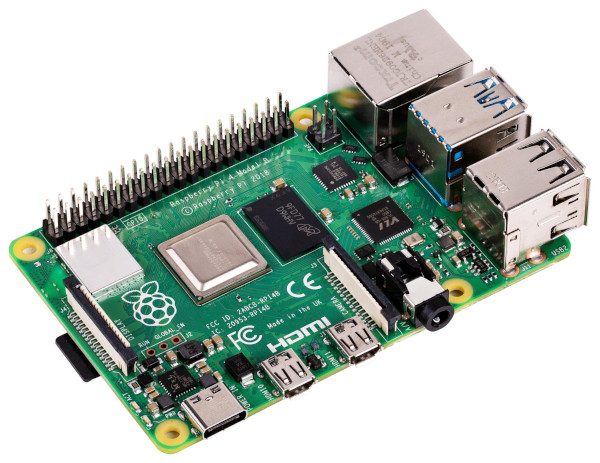
Raspberry Pi (or similar) SBC (Single Board Computer) . These devices are a real boon for low energy and off-grid users. They provide very useful and powerful general computing capability with a tiny power requirement and are much more energy efficient than any laptop or desktop.
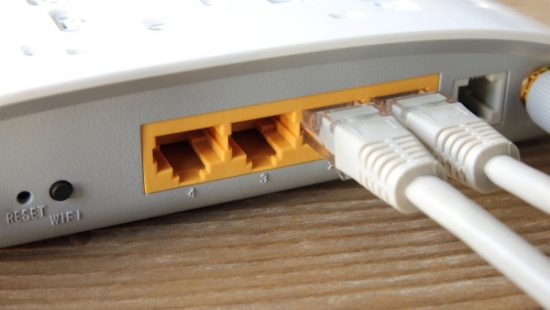
Router – a standard router should work fine in this system so long as it is 12V DC powered. All of the BT routers I have run on 12V DC and I think this is now standard?

Low energy LED monitor – any size should be fine. However, a direct mains powered monitor will not be suitable. Instead we need to use one that has a 12 Volt or 19 Volt DC input – most modern monitors will meet this requirement.
A simple diagram of my system
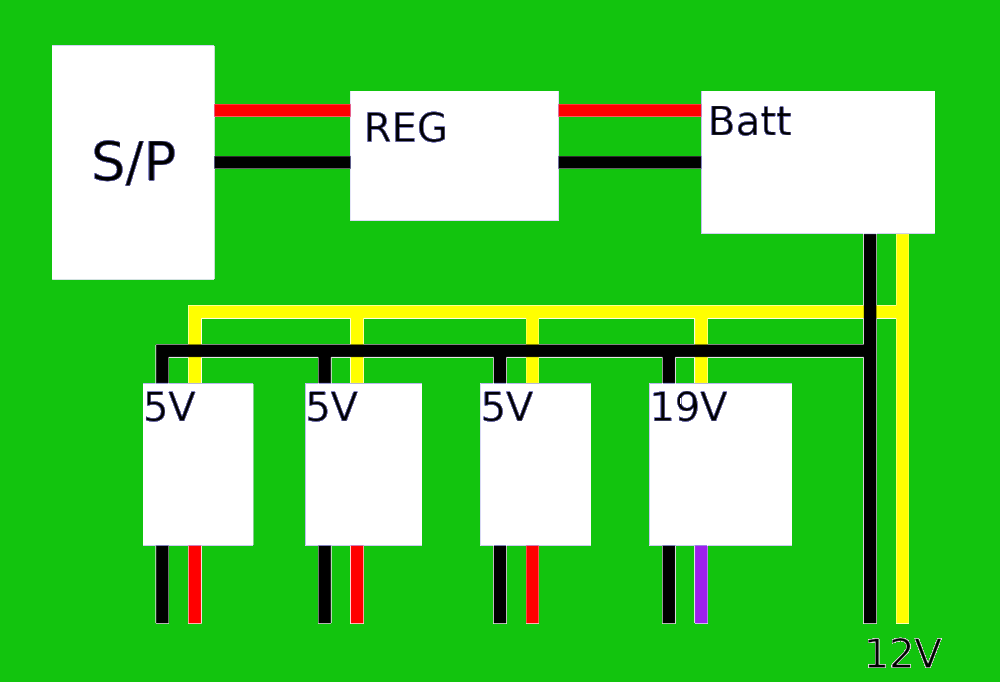
System Voltages
Our IT electrical system is required to provide three main voltages … these are sometimes referred to as “rails” by engineers. We need 12 Volts at approx 8 Amps. The 12 Volt rail is the main “power rail” in our system as this is the voltage coming out of the battery. 12 Volts is required for directly powering our monitor and router / modem. The later is one of the most energy hungry items and should only be powered-on when required.

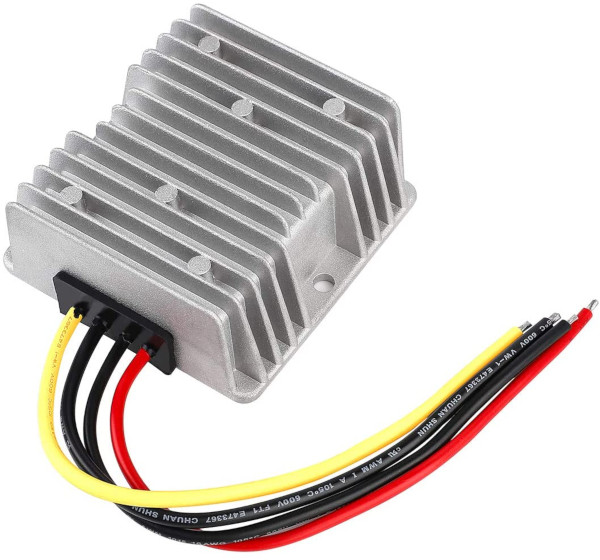
Buck Converter
Next we need the all-important 5 Volt rail which will be provided by little buck converters adjusted to output 5 V from the main 12V input. 5 volts is required to power our Raspberry Pi computer and provide the 5 V power for the USB charging socket(s) for mobiles and tablets. The Raspberry Pi 4B computer requires around 3A and we need about 1.5A for general charging. The output voltage and current limit is adjusted with the little brass screws.
I have put this unit into a plastic case with 4mm binding posts for connection and thus making it more robust. This build is limited to a max load of approx 3A due to the lack of heat sinking though I have recently modified the unit with a 12V fan connected across the input terminals.
19V Boost Converter
Lastly, we need a 19 V rail provided by a Boost Converter (from the 12 V DC input) – this voltage is only required for charging or powering Laptops.
On a good sunny day this system will be running well within capacity, with lots of head-room when running a Raspi 4, Router, 24in low energy LED monitor and charging a laptop simultaneously. The direct output from the solar panel can also be used to charge a typical laptop — with care.
Essential Calibration & Measurements

Cheap Volt Meter
Monitoring voltages is more important (initially) than current consumption. You will need either a multimeter or a cheap panel mounting Volt meter ranging from 0 to 20 Volts. You must use a meter that will clearly read 5V 12V and 19V such as the one shown. I believe it is better to use old passive (analogue) meters rather than state-of-the-art digital multimeters or stand-alone digital meters as these require their own batteries or additional power rails. The objective with off-gridding is to keep auxiliary power use and consumables to a minimum. The meter will be used to set and periodically check the output of the DC/DC voltage converters plus the battery on and off load voltage.
It is very important to make sure that the voltage converters are correctly adjusted, as a mistake could result in a lot of 5 Volt equipment being burnt out! When working with multiple voltage systems, such as this, I like to stick to the ATX colour coding scheme commonly used in all IT hardware with yellow for +12V, Red for +5V and black for 0V or ground. If running a power system which provides other higher voltages such as 19 V it is a good idea to indicate this with some other colour such as Brown or Violet.
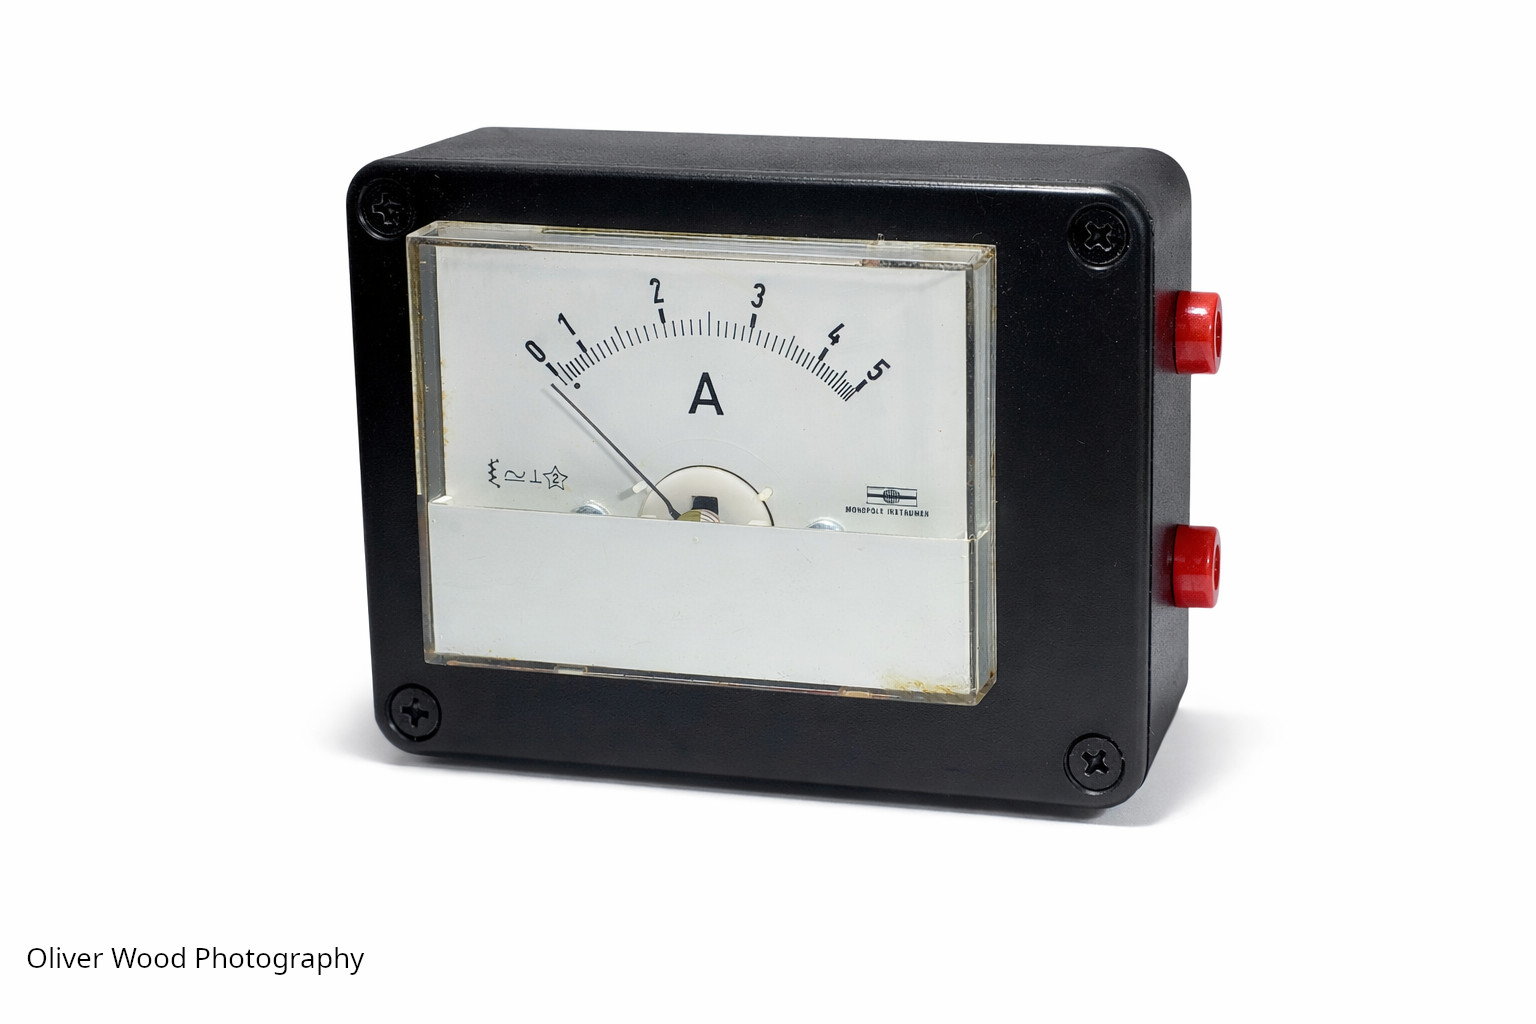
Ammeter
This is useful for energy consumption assessments and load testing. The ammeter is connected in series with the load and from Ohms law electrical power consumption is the product of current times voltage. The ammeter can also be useful for setting the output current limit on the DC to DC buck converters used to step down voltage for lower voltage applications such as USB charging.
Don’t Use Inverters!
An Inverter is a complex, quite inefficient, and often very expensive device that is used to convert 12 or 24V DC from a battery to 240V AC 50Hz. Some people use these in solar battery systems to provide a mains voltage output which they then use to charge or run a laptop through the standard AC to DC converter or power brick. This is very wasteful, instead it is better to power these devices directly from the DC system, as with our example, using the 19V boost converter.

Generally, it is a good idea to have peripherals that run on low voltages, as most external devices do. If your monitor is an old fashioned type with a mains input on a “kettle lead” then it is not suitable for a solar battery system. Most modern LED monitors will run on 12 or 19V DC and would be powered through a mains voltage converter or power brick. DC power is then usually fed into the monitor through a barrel jack. Your router will also have a similar powering arrangement and again it should be operating on 12V though some will require 9v DC inputs. In that case you would only need to adjust your buck converter for a 9V output.
A good solar system should be low voltage and DC throughout. Very old fashioned components such as first gen modems that require low voltage AC can not be run on this system.
12V or 24V system
The main system voltage is the voltage rating of the battery or battery bank and also the solar panel output voltage. Typically, this can be either 12V or 24V though the panel output voltages can often be higher than this. There are a number of pros and cons for each which I will outline below.
24V systems may use a single 24V battery or more likely, 12V batteries in series or series / parallel configurations depending on the overall required power rating.
Many high power 12V systems may also have a number of 12V batteries connected in parallel for high current demand.
All systems with multiple batteries whether connected in series (for increased voltage) or parallel (increased current) will have much more complex charging arrangements. There is a lot of debate around the methods for charging banks of batteries with some believing that it is OK to charge from the terminal end of the bank. So two 12V batteries in series providing an output of 24V at 1x Ah rating can be charged with a single 24V charger at the output. However, others believe that these batteries should be individually charged or connected to the charge controller with individual wires for balanced charging at 12V. This would also require a break in the series coupling — which seems awfully inconvenient!
However, It can be a major problem if a bank of batteries either series or parallel are not closely matched in terms of levels of depletion and voltage. This is particularly true for lead acid and lithium batteries.
Lead acid batteries will exhibit radical changes of internal resistance at different levels of charge and if connected in series this can result in the battery with higher charge being over cooked as it will ‘sink’ more charge current than its depleted neighbour. Alternatively, the fuller battery may cause the charge controller to stop charging and thus leave the depleted battery in a low charge state. When starting a new battery bank for a solar system I would recommend pre-balancing all of the batteries to make sure they are all fully charged before wiring into an array intended to ‘end charge’ all of the batteries simultaneously.
24 Volt System
Pros:-
Less costly materials. Wiring is a major cost element in low voltage high current electrics. A 24V system can deliver the same power as a 12V system but with 50% reduction in wire gauge and copper costs. 100W at 24V = 4.1A but in order to deliver the same power at 12V we need to supply 8.3A
In a DC system power is equal to current times voltage and current is therefore equal to power divided by voltage.
P=IV I=P/V
Overcoming resistance – the slightly higher voltage will mean a slightly lower loss of power over long wire runs, again this is also gauge related so longer runs should use a larger gauge for minimum resistance. Voltage drop in a 24V system is much less of a problem as there is likely to be much more operational headroom than a 12V system.
Power lost (dissipated) in a DC system is equal to the square of the current times resistance P=I2R
A 24V system also gives much more headroom for running 12V applications (through step down converters) as battery voltage sag will not be a problem.
Cons:-
Some components and appliances are much harder to find
Step down converters such as Buck’s will have to work harder and much less efficiently to provide important lower voltages such as 5V for tech & USB bus power.
Buck converters would also be required for the 19V to charge laptops but it is hard to find Bucks that can pass much more than 2A without overheating. Many laptops require at least 1.5A to charge and 3A to run.
Very few IT peripherals such as monitors, USB hubs and routers run at 24V with 12V being much more common.
24V batteries of all formulations can be a lot more expensive than 12V versions. A 24V system may also need to use a large number of 12V batteries in complex series / parallel configurations.
How Much Does it Cost?
It varies – by far the battery will usually be the most expensive single component. However, as I mentioned above, this setup will work very well with a standard car battery, even an old one from a scrap dealer could provide many useful hours of service.
A new 12 V 100 A/h LiFePO4 battery is typically £130.00
The MPPT charge controller is £40.00 to £60.00
Buck converters £3.00 each
12 to 19 V Boost converter £14.00
12 Volt 100 Watt solar panel – around £80 to £120
Raspberry Pi computer £50.00
Meter £11.00
General other bits and bobs £10.00
The overall cost will depend on how professional you want to make your energy panel look. Personally, I prefer to use professional connectors and enclosures and these can add a fair amount to the cost.
Otherwise just mount everything on a piece of wood and use bog-standard terminal blocks, stripped USB cables and other sundry items for the output interface. You could use 5Amp round pin (lamp) plugs for your main 12V and 5V outputs for monitor / router & raspi respectively.
USB charging ports should be made up from circuit board mounted USB plugs soldered to strip board — this requires some electronics construction skill.
Footnote
Obviously this article is really just scratching the surface and is based on a proposed but not yet constructed system. I am writing from the perspective of someone that is quite comfortable with electronic construction, soldering, technical improvisation, Ohms Law, connectivity standards in IT and the making up of special purpose leads. Much of this article will be skimming the surface of the obvious for anyone with similar skills but for those who are new to the wonderful world of electronics and solar power then I hope it will give some added impetus to your desire to further investigate the subject.
Some more thoughts on off-gridding
Sundry Items
Just by way of an aside, if you are planning to go off-grid or semi off-grid there are quite a few useful items that are always worth having and which will compliment your battery-solar system. These would be just a few of my recommendations.
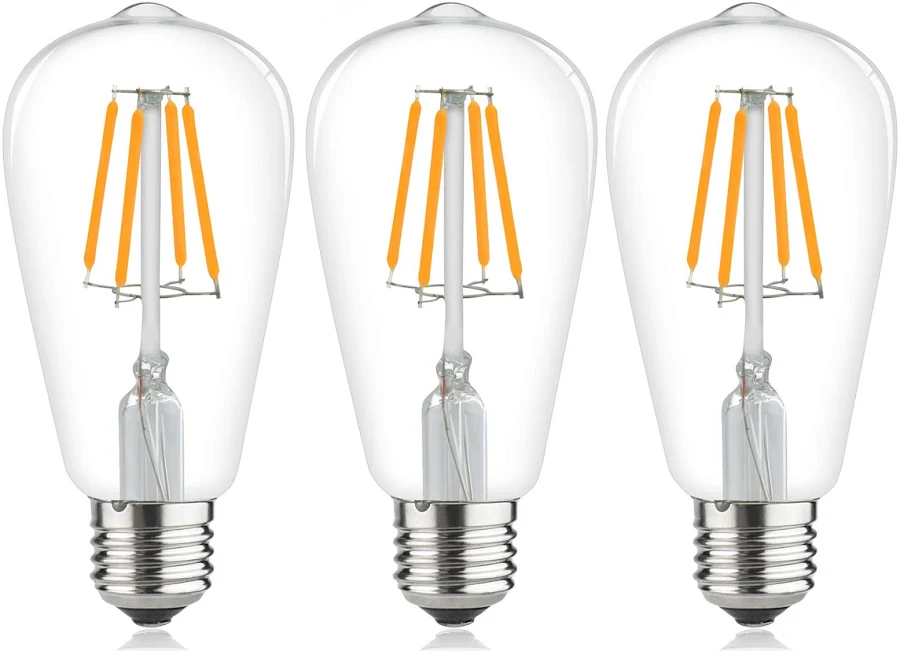
12 Volt DC LED filament style lamps. We all know and love these lamps and you can now get versions that will run off a 12V DC supply and give the same quantity and quality of light as mains lamps. Typically rated at 4W each, that’s only 300mA at 12V.
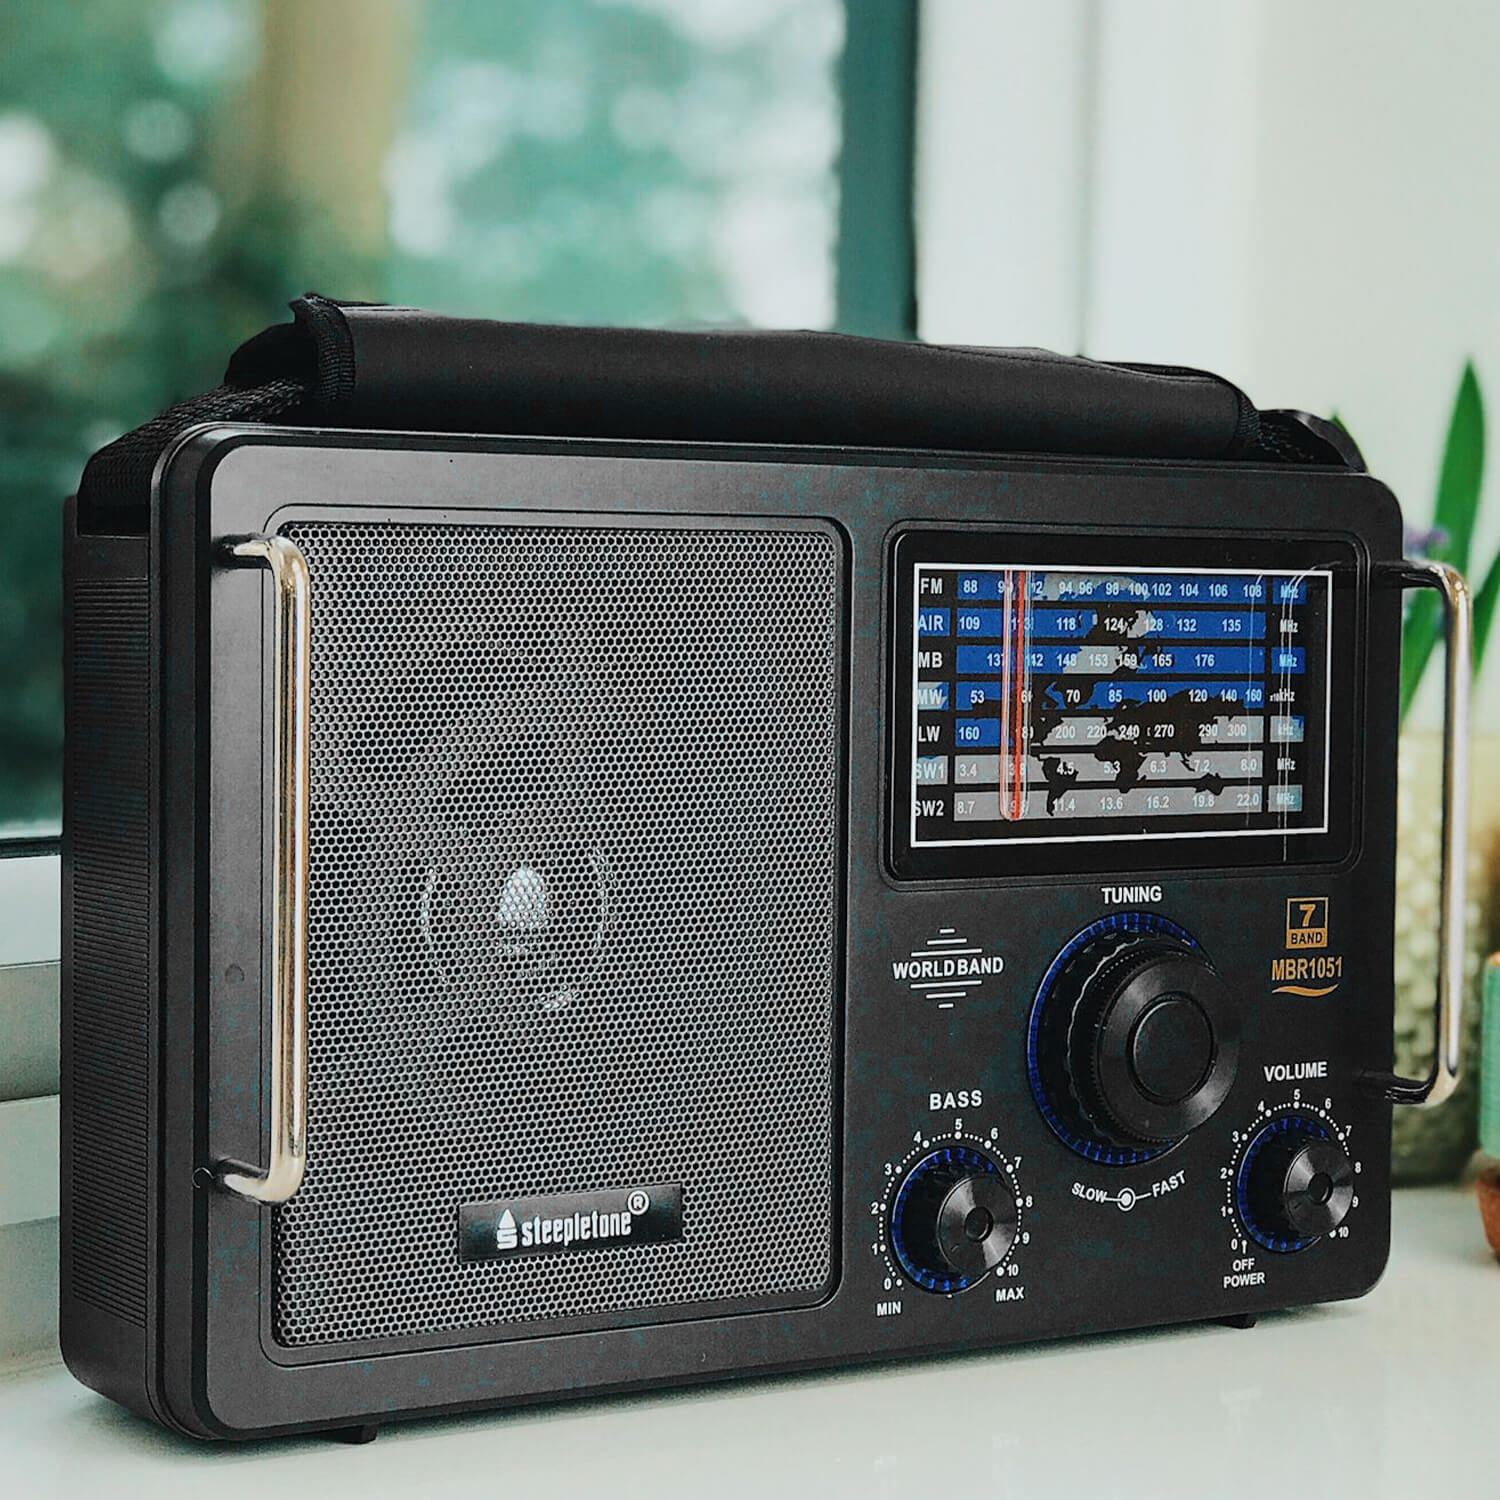
12V Car radios particularly those that still cover analogue AM / FM wavebands. It is a good idea to also have a radio that covers the Short Wave or HF bands as these could be the only bands still in operation in a major emergency.
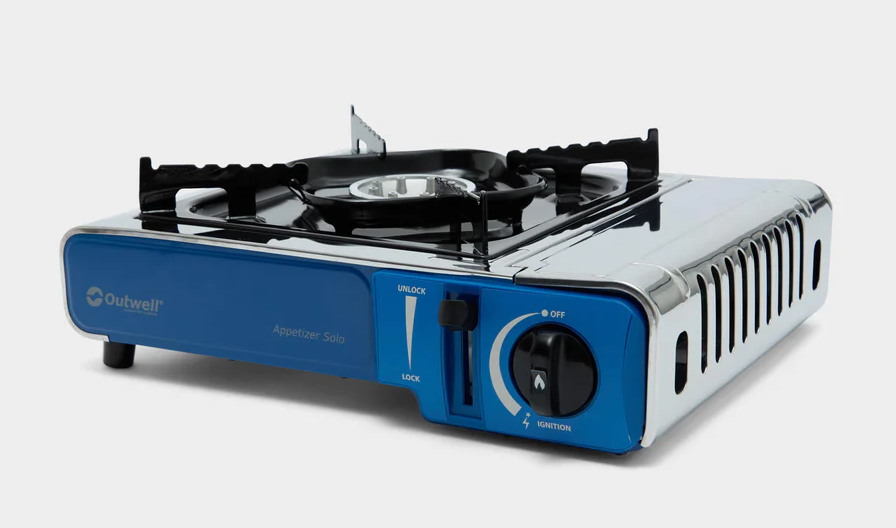
A good gas camping stove, one with a proper full size burner. These are excellent and very easy to use. Cylinders are commonly available from everywhere from B&Q to Halford’s.
Kelly Kettle, this device is the veritable king or queen of off-grid hot water provision. A basic combustion device that can heat up to 1.5 litres of water faster than a 3KW electric kettle.

Hot water is vital for cooking, washing, sterilization and keeping warm with hot water bottles. The kettle can be fuelled with easily collected dry twigs and newspaper kindling.

« Restoring LUA Conky in antiX |
04-Mar-2026
Prestburyweb